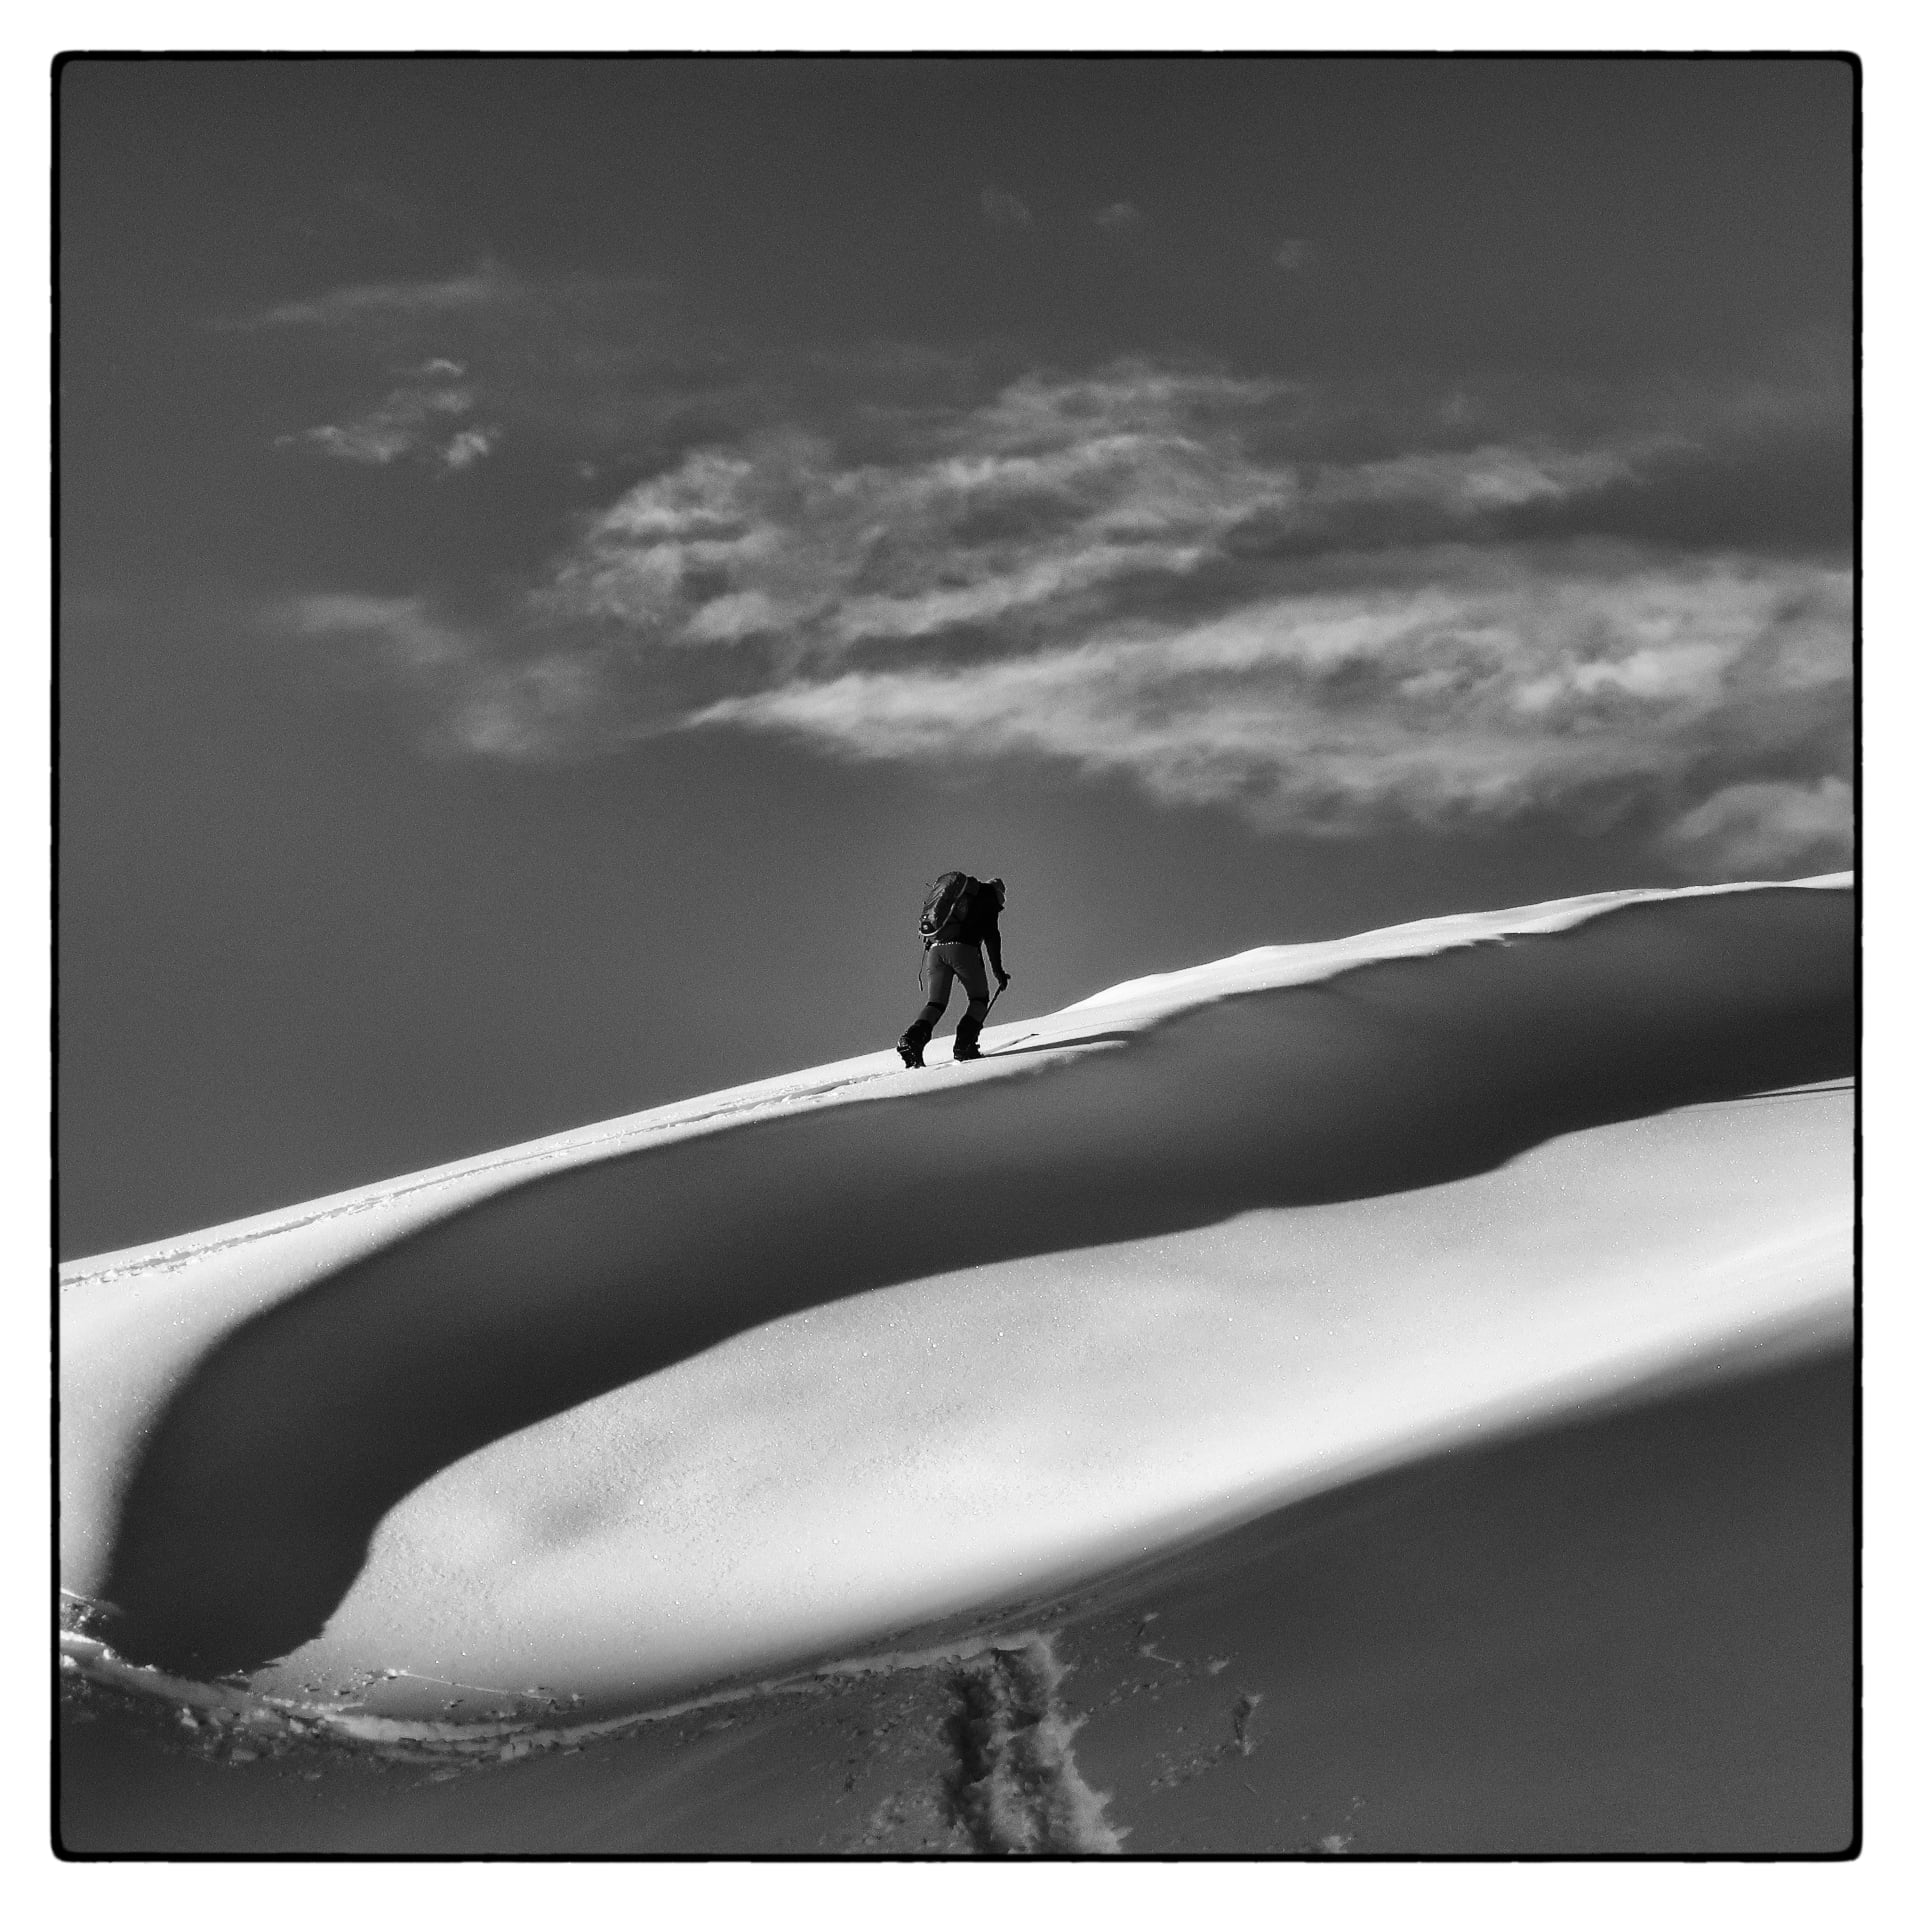
Plan well, Ride longer…
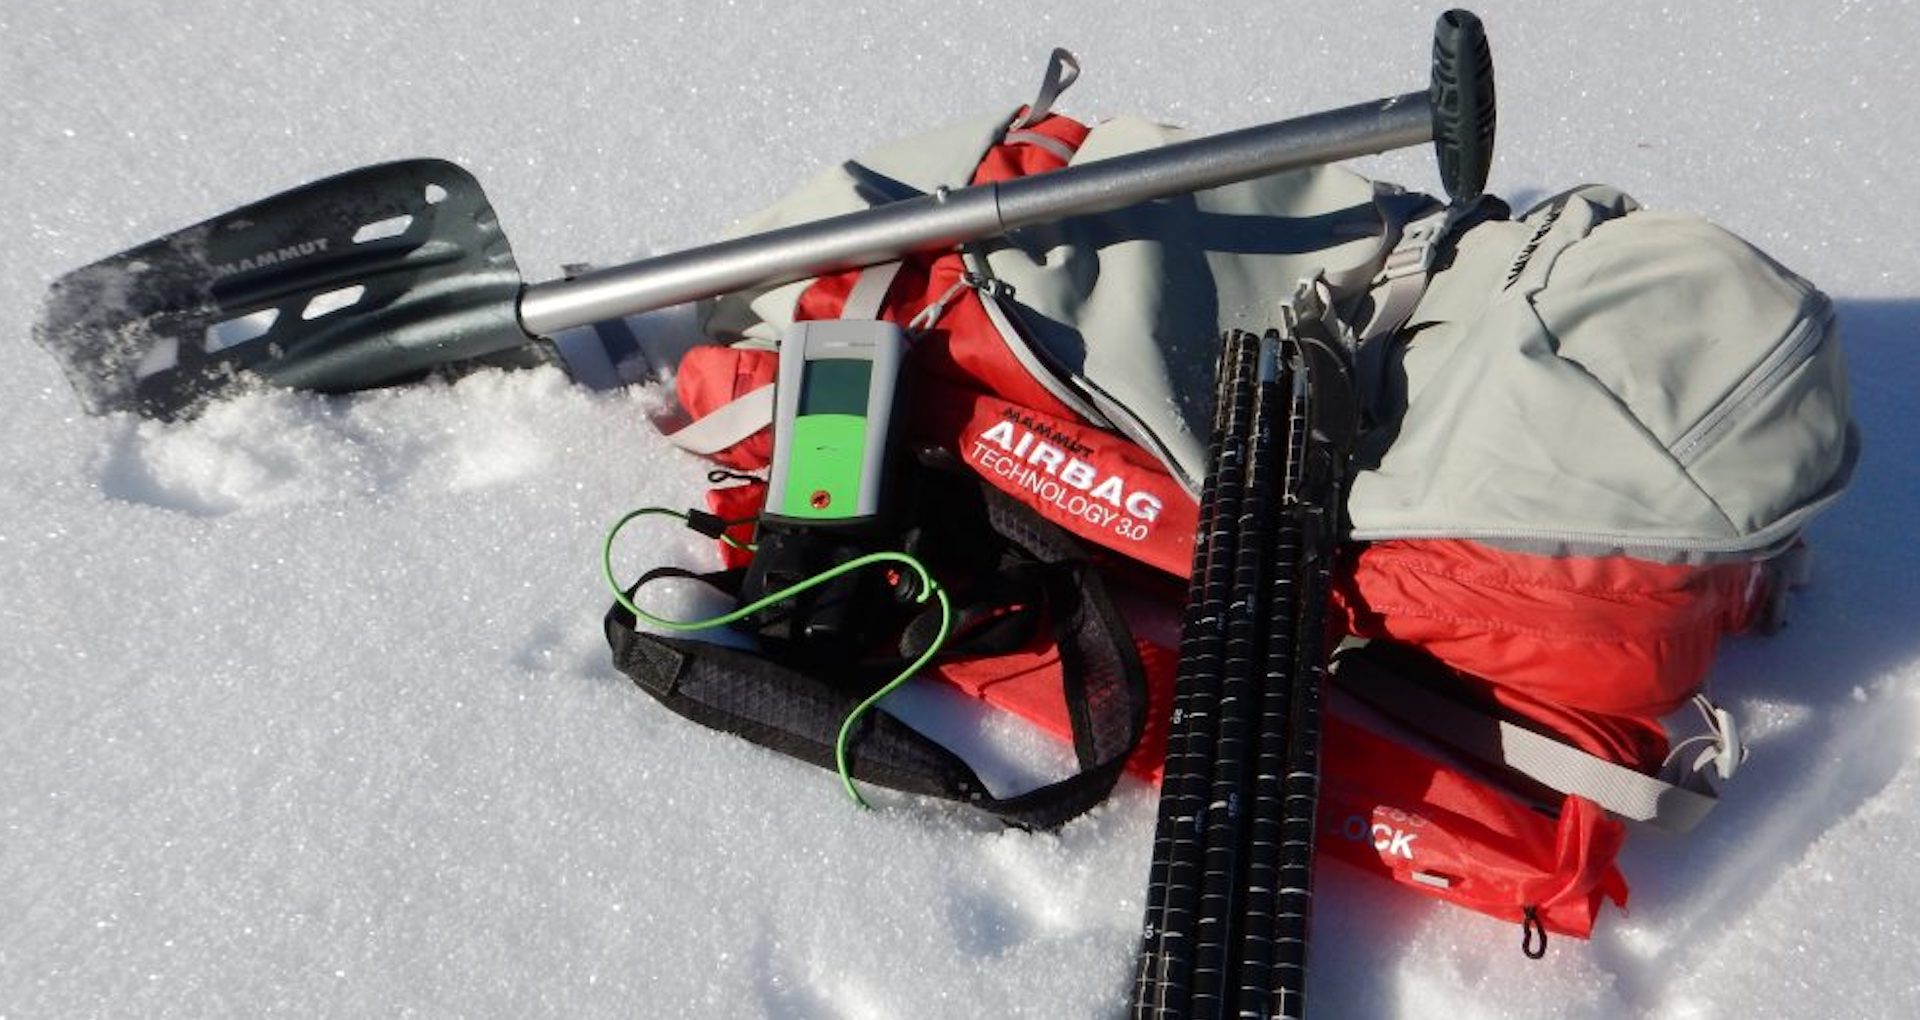
Proper planning and preparation of a tour minimizes the risks you run in the mountains and can prevent unpleasant situations and their possible outcomes. This blog is just a basic guideline of everything you need to consider while still sitting at home preparing for a tour that will take place in the following days. I am convinced that careful planning, good preparation, knowledge of the risks involved in the mountains, possible dangers and listening to your instincts can prevent terrible scenarios! However, having the appropriate avalanche equipment and knowing how to use it in case of an emergency is essential when preparing for snowboarding mountaineering excursions. Touring and freeriding are on the rise for good reason, but so should awareness of how to move and act in the mountains.
Necessary tools for tour ''pre-planning'', the one that is done a few days before, at home, lucidly...:
Checking the area and points with the best snow conditions: Basically checking the area is done by searching the internet for where the best snow conditions and the snowiest regions are. The key points to consider are; the snow layer, the amount of fresh snow on the ground, the temperatures, the wind direction and the weather forecast. This information will give you a rough idea of where windblown snow could accumulate... one of the worst and most treacherous enemies of snowboard mountaineering!
Avalanche Report from the area: The avalanche bulletin should be the first tool to start planning a trip because it provides information on the current avalanche situation on a European scale of 1 to 5. It also provides information on snow layers and potential weak layers, on how the weather influences the situation, what kind of avalanches can occur at certain heights and on which slope aspects particular attention must be paid. The report also mentions how easily an avalanche can be triggered.
Weather Report: The weather can change very fast in the mountains, so checking the weather forecast is very important for planning. They are usually reliable, as modern computers and software used in conjunction with satellites produce huge amounts of data and information to predict weather for the coming days! Taking note of the change in weather during the day and sunny slopes is important in winter but especially important for spring conditions! The temperature of the valley and the mountain can help you choose the appropriate clothing and show how the snow conditions could change from top to bottom. Sun exposure and temperature are also important for weather management.
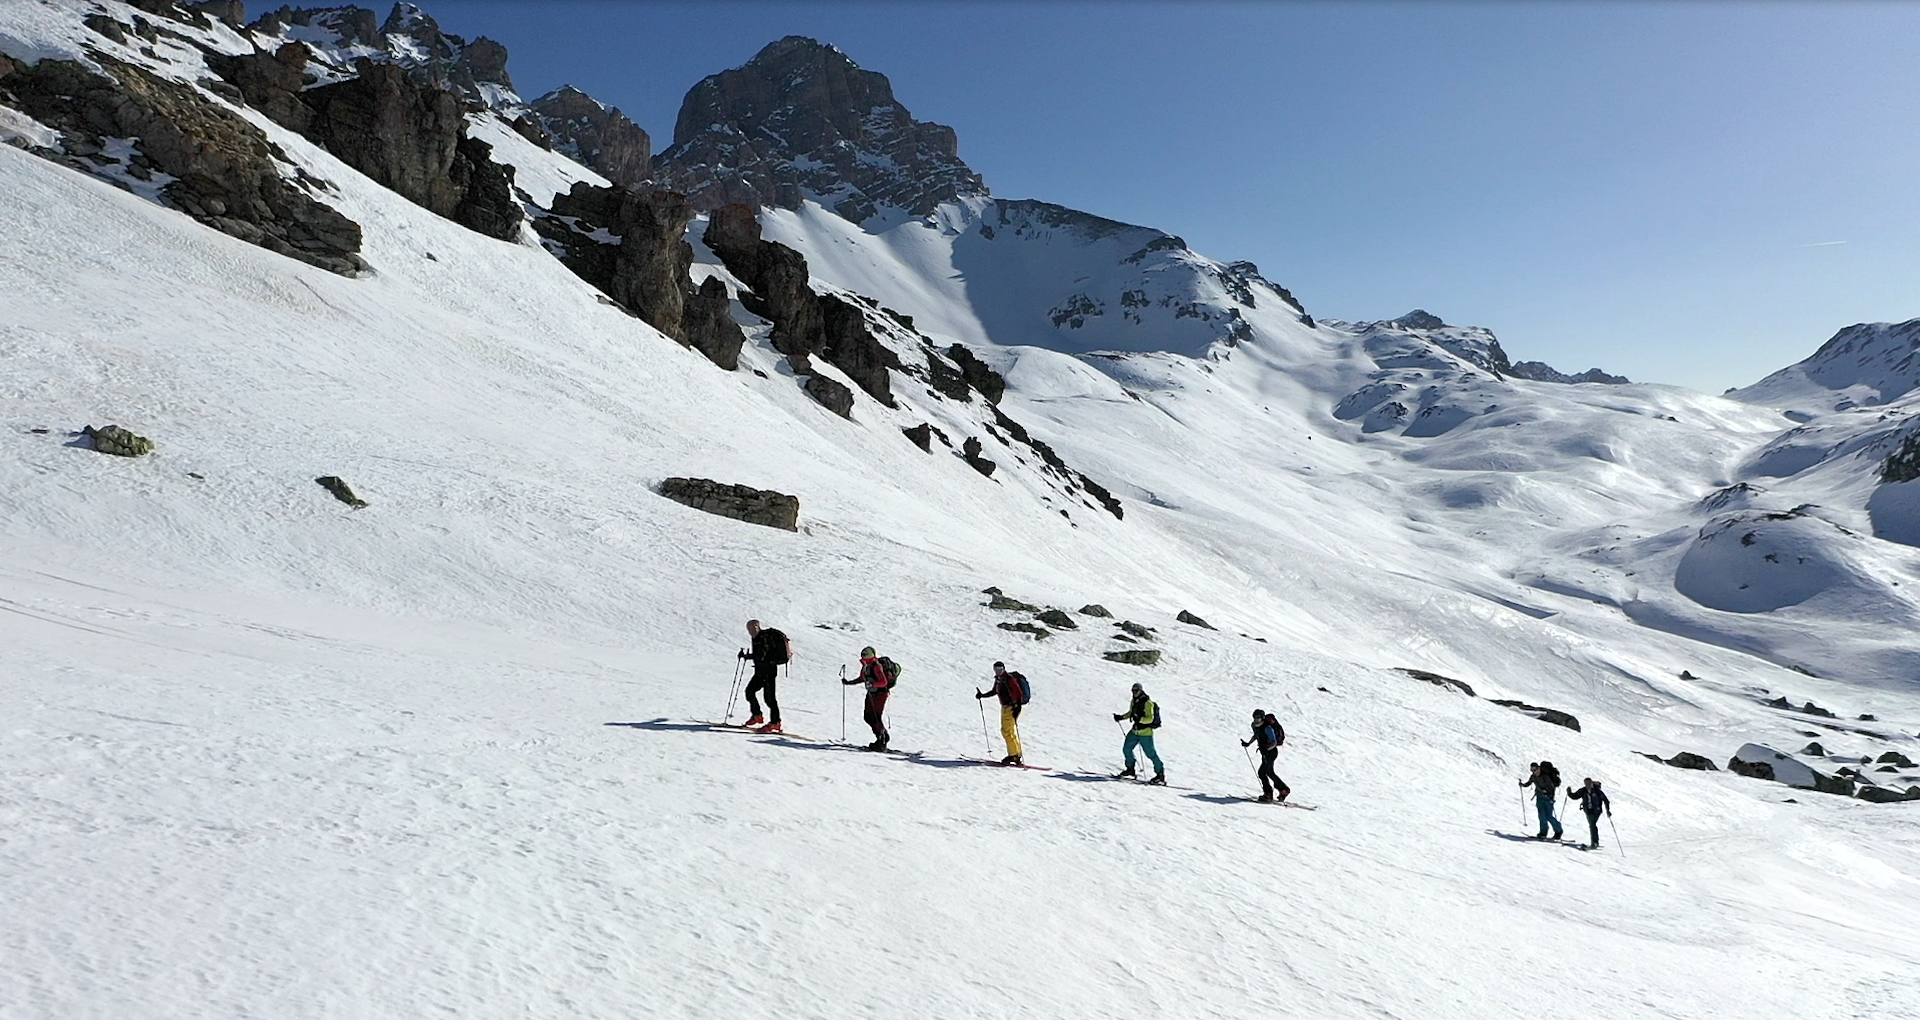
Topo Map / Area App: Online topo maps can often be useful but, when available, nothing beats an actual map. Important details to understand on a map: steepness of the slope for the ascent and descent, how many vertical meters? Which route should you choose for the ascent and in which corner is the steepest part? Are there any surrounding dangers, for example the possibility of avalanches from above? How much time is required for the ascent, including short breaks? Where is the planned descent and the steepest part? Are there obvious and distinctive points for orientation during the descent? Where are the safe meeting points to bring the group together? How much time is needed for the whole tour? Where will the tour start and where will it end? All these points are extremely crucial to consider and discuss clearly in the group!!
Additional planning tools, those that are done on the spot on the day of the trip:
Elementary reduction method: to apply it, the user must know the avalanche bulletin and be able to evaluate the inclination of the slope at least by orders of magnitude (e.g. the slope has an inclination of 35°-39° and exactly 38°). Correct assessment of slope inclination is not particularly difficult, but must be learned accurately. The avalanche danger level refers to those areas indicated in the bulletin itself. , and the significant area is represented by the entire slope.
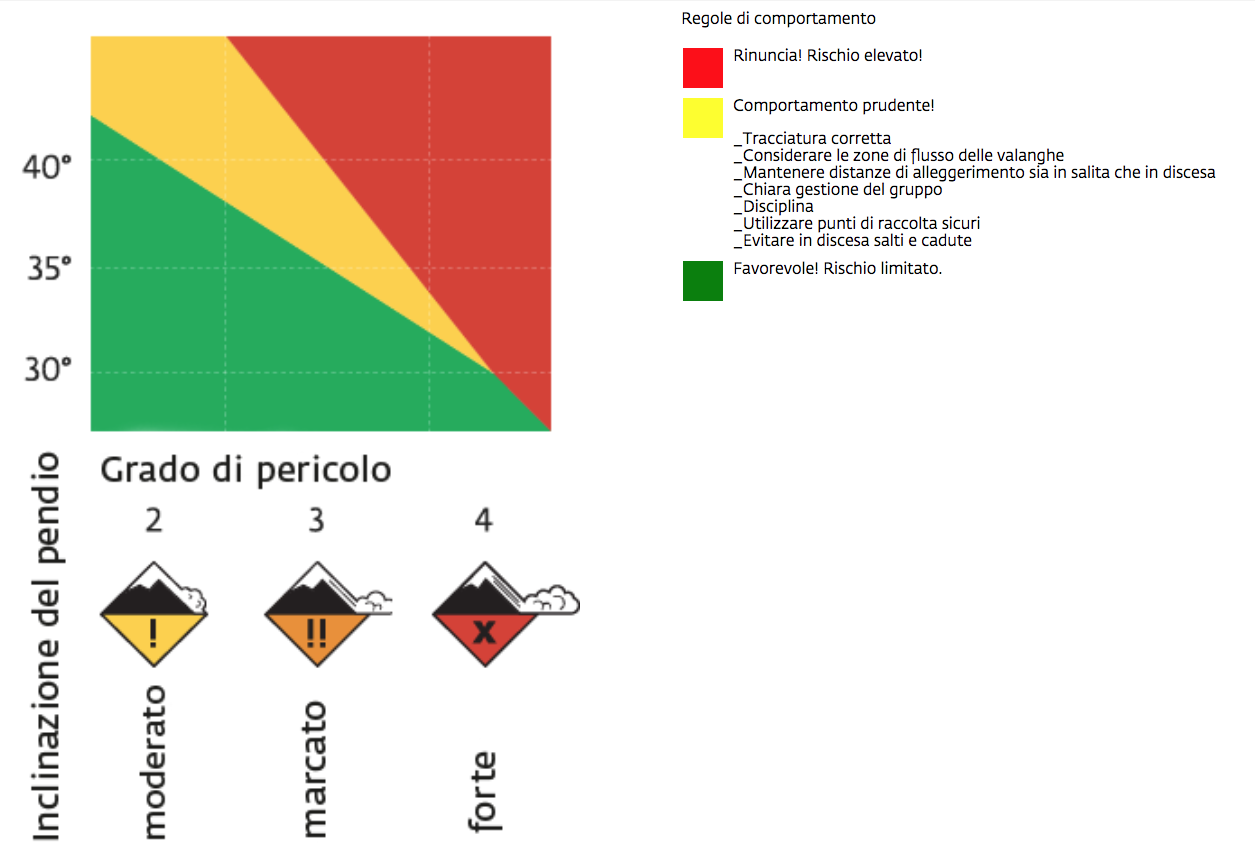
“Stop or Go” is the decision strategy that consists of two distinct parts (Check 1 and Check 2). Check 1 represents the "Elementary Reduction Method" (see above). In Check2, the user must perceive and evaluate the danger signs: New snow, drifting snow, recent detachments, sudden heating, settling noises and the consequent propagation of cracks. If no warning signs are found, it is normally possible to continue. Otherwise, if the warning signs are perceived and evaluated as "dangerous for me", the area must be avoided or the excursion itself must be stopped.
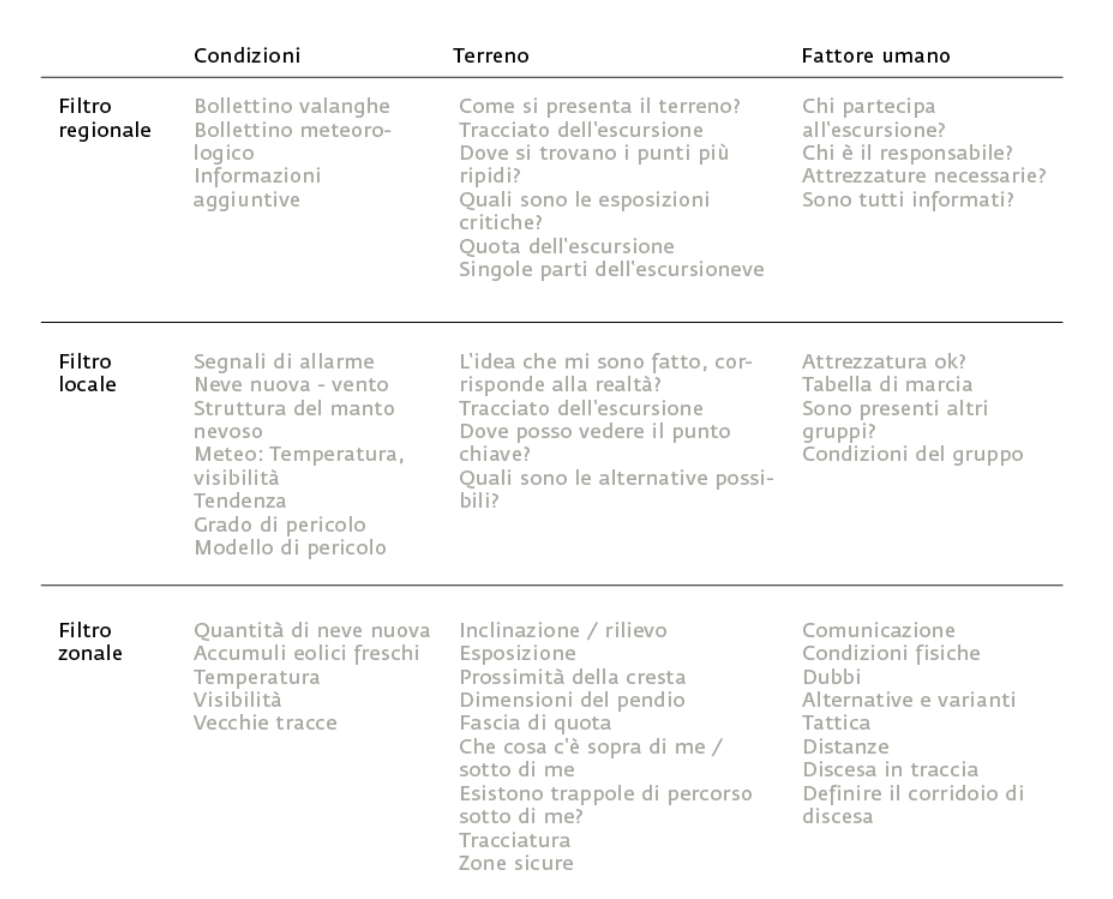
The 3x3 reduction method, also known as the Munter Method, is certainly one of the most effective (although it requires a lot of practice and experience) and is based on a decision-making process on three distinct temporal and geographical phases of investigation: Desk pre-planning of the trip (filter regional) Choice of route on the ground (zonal filter) Evaluation of single slope (local filter)
If these tools and the avalanche bulletin give you the green light for the tour, the next step is "group check". If the avalanche report and any tool gives you a red light, you should seriously consider choosing a different tour that day or in particularly sensitive conditions abort the trip!